
How to add DIDs to the server
First, you will need to access the Terminus application. Once inside, add or open the server to which the DIDs will be assigned.
Warning: Make sure the corresponding VPN is activated before proceeding.
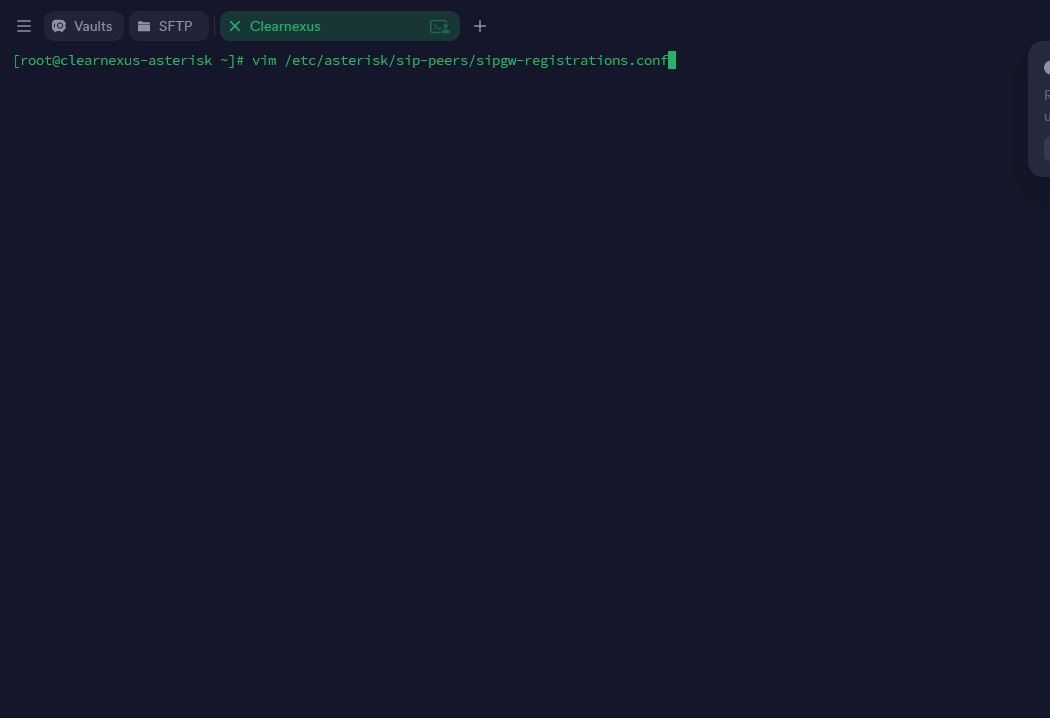
Once you are in the server terminal, you must verify that the registration strings exist. To do this, enter the following path in the terminal:
After entering this path, you should see the existing registration records.
If no records are found, they must be created (please notify the team in this case).
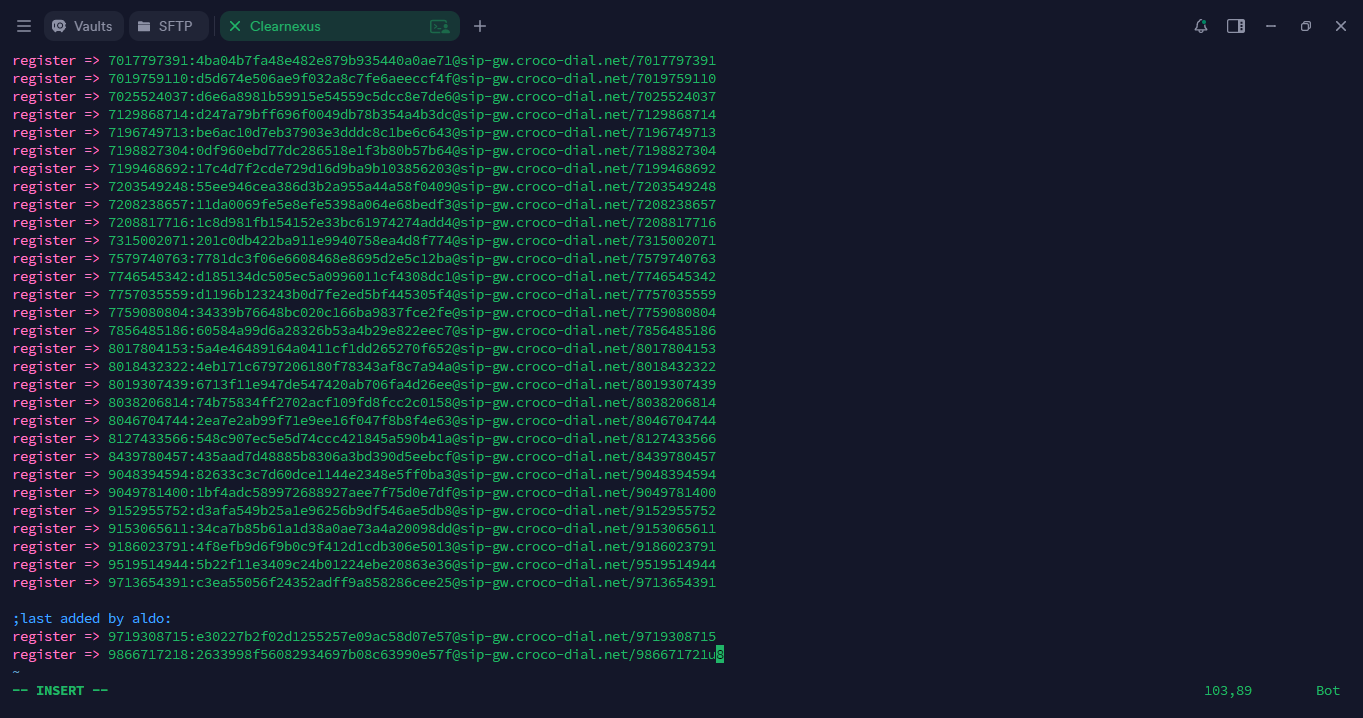
Once inside, you will see all the registration records that have been created within the system at that path. There are two possible actions you can take:
-
Press the “I” key. The word “INSERT” will appear at the bottom of the screen, allowing you to add the registration entries exactly as they were configured in the extension.
-
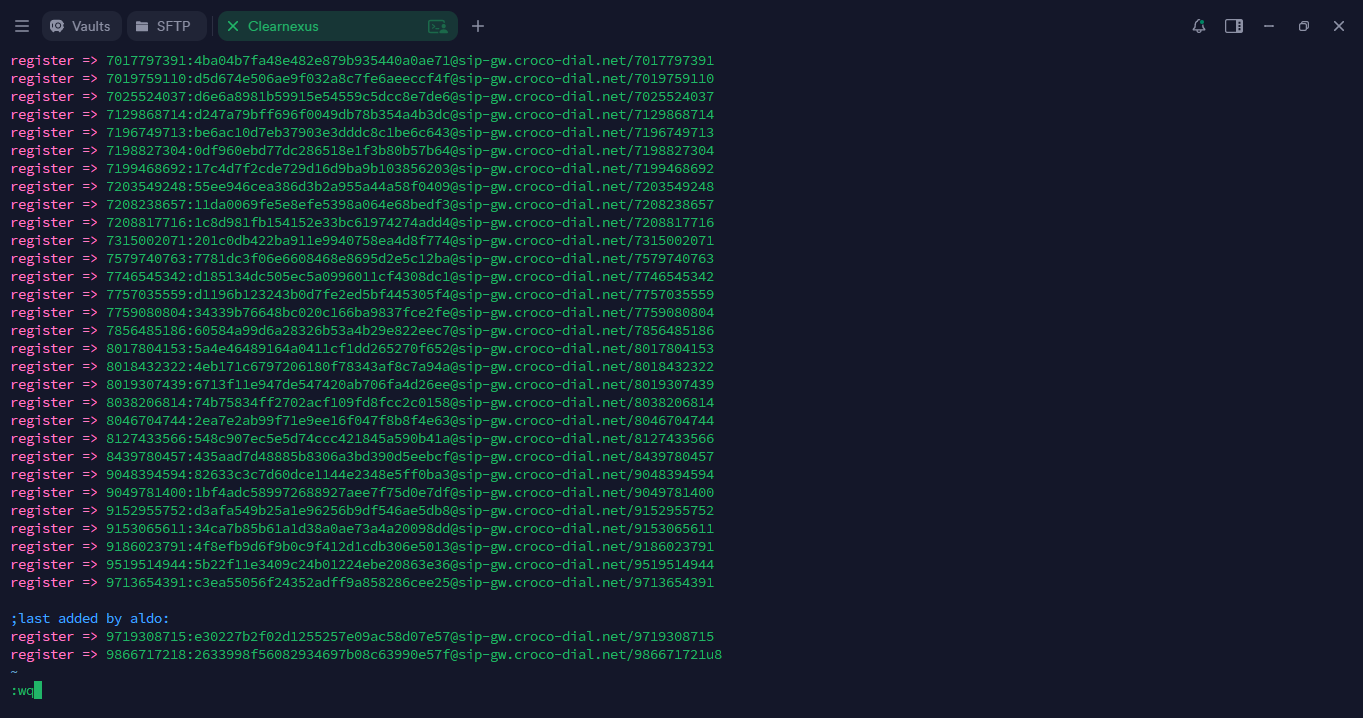
To exit insert mode, press the “Esc” key. The word “INSERT” will disappear, indicating that you can now exit the file.
To save your changes and exit the terminal path, type the following command:
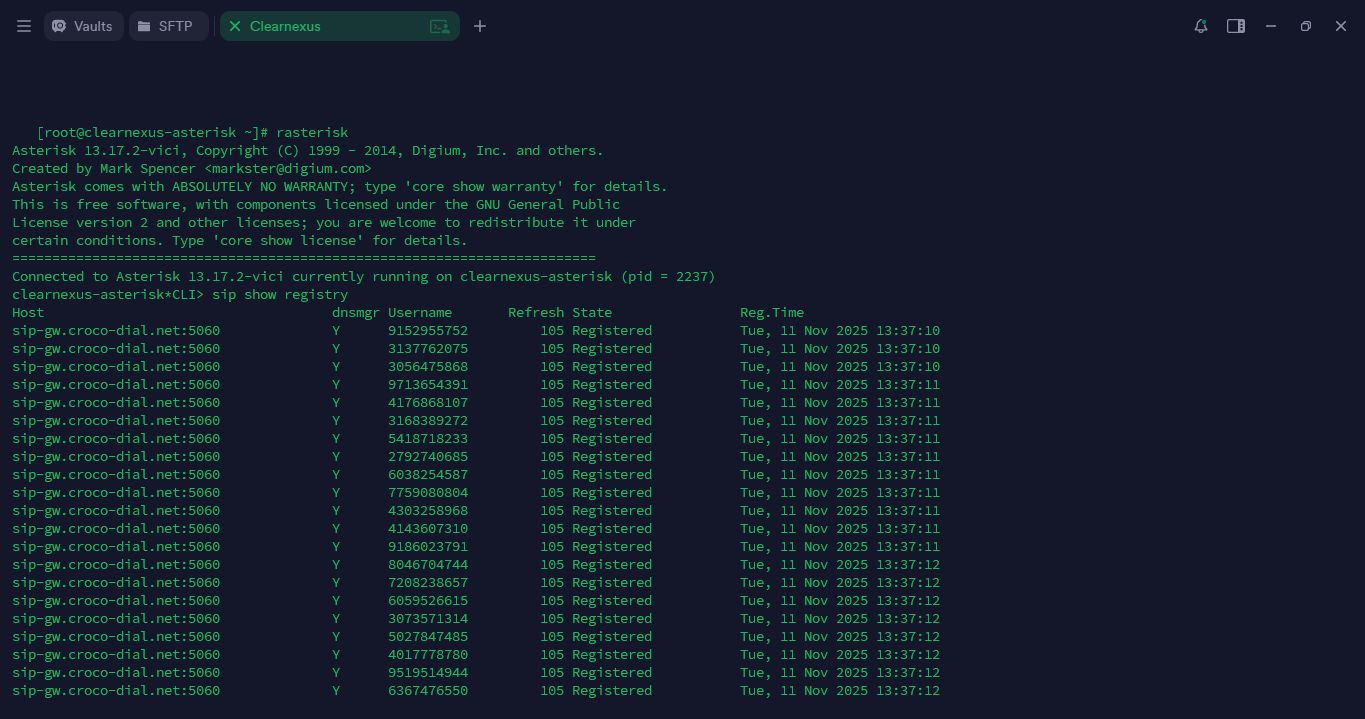
Once back at the main terminal, you will need to verify that the DIDs have been added correctly. To do this, you must access Asterisk by typing the following command in the terminal:
To confirm that you are inside Asterisk, the terminal prompt should now display:
Next, you will check the registration lists to ensure there are no duplicates and to distinguish the newly added entries from the existing ones. Enter the following command:
Please note that the lists may not have been updated yet—this initial check is only to compare existing and new entries. To update the lists, run the following command:
This will refresh the list with the newly added numbers. Then, run the previous command again:
Now verify that the numbers you added appear correctly and that the DIDs are being processed properly.
In the Terminus terminal, locate the subcategories named dnsmgr and refresh state.
All entries under these sections must display the letter Y and show the status Registered.
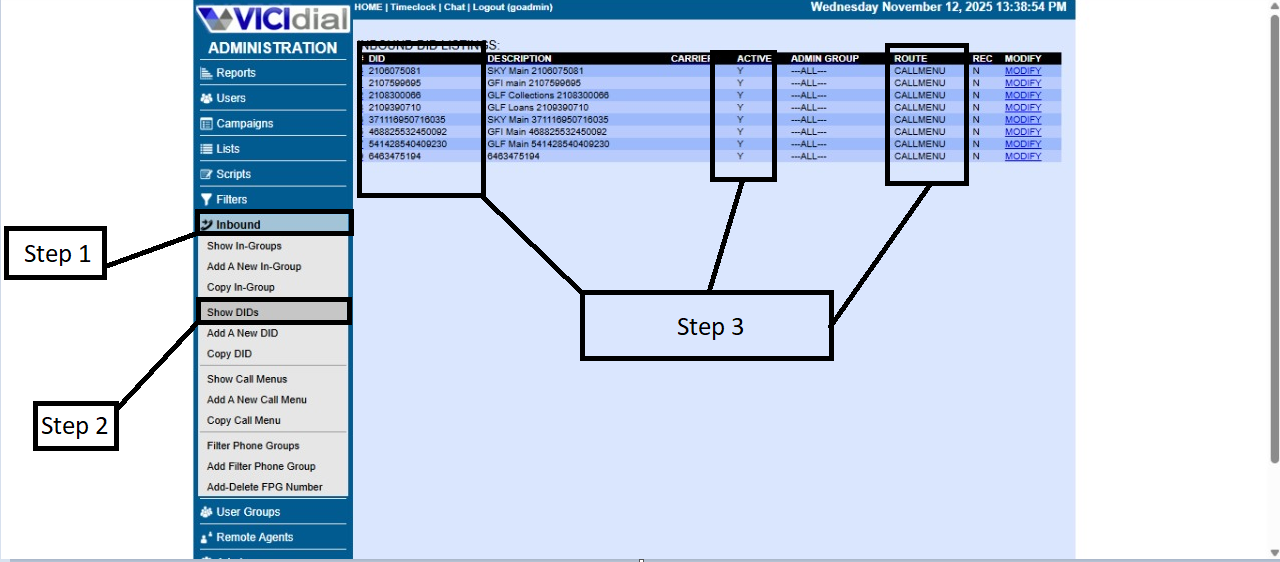
To finalize the process, you will need to access the EMMA platform, where all the numbers you have registered should appear.
Once logged in, follow these steps:
No Comments